WHY PRO
PHOTOGRAPHERS
LOVE NIK
For 30 years, Nik Collection has given
photographers the tools they need.
Discover more!
“The best plug-in suite of all time, with amazing tools, controls and effects”
Introducing Fabio Mirulla,
Professional wedding photographer
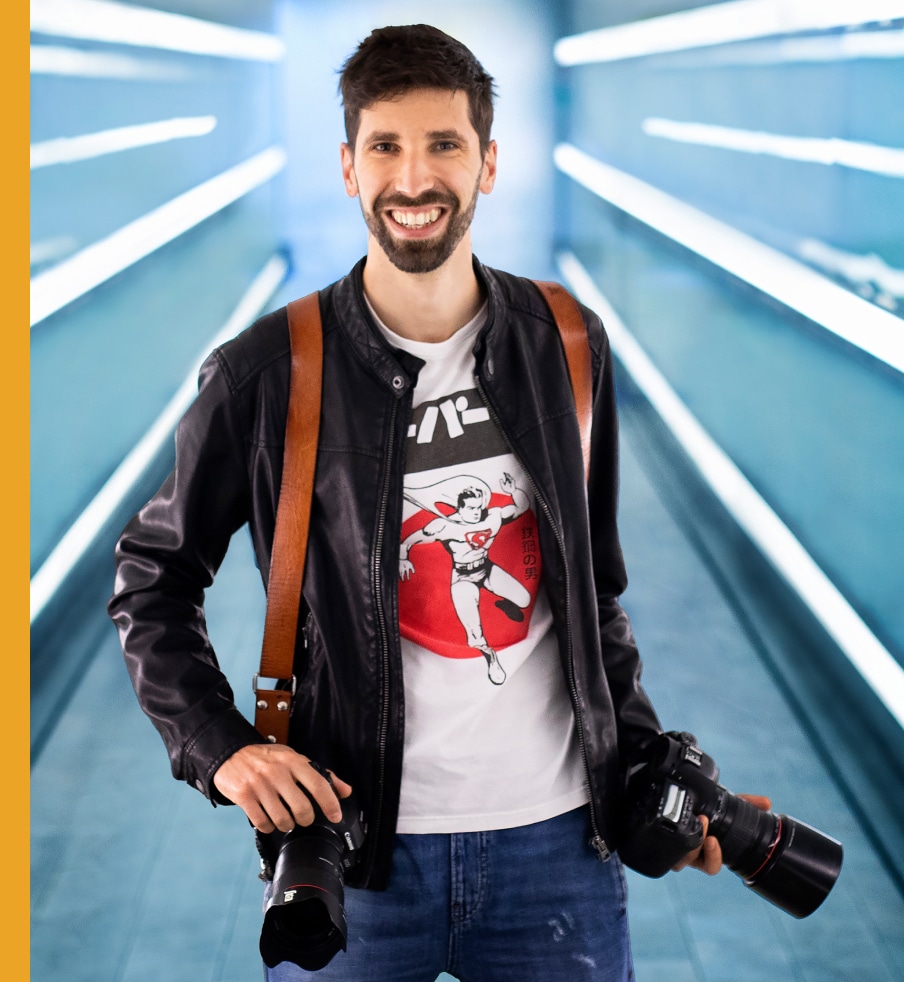
“Without it, I can’t work!”
With his award-winning wedding photography,
Fabio Mirulla combines a documentary style with playful authenticity.
He’s been a Nik Collection user for as long as he’s worked as a professional, making use of Nik Color Efex and Nik Silver Efex to define and improve his vision.
“I never found what I have with the Nik Collection elsewhere,” he says. “Without it, I can’t work!”
“Nik gives you a signature”
“Your images are recognized by the processing you use, it’s your signature,” says Fabio, “but it takes time to find that look. Fortunately, Nik Collection makes it easier to get there.
A lot of software is complicated, but Nik makes things very simple, and over the years I’ve developed my own formulas that take only a few seconds to apply.”
Natural and personal
“I want images to look perfect, not over-processed,” he says, “so out of the camera, I start in Photoshop, correcting my RAWs to create the most natural foundation. Then I let Nik Collection give them personality.
I love to use Color Efex with its quick and easy tools like Bleach Bypass adding perfectly controllable contrast, while Darken/Lighten Center draws attention to subjects.”

“I grew up with Nik, it’s faster, more controllable, and easier to use than ever before.”
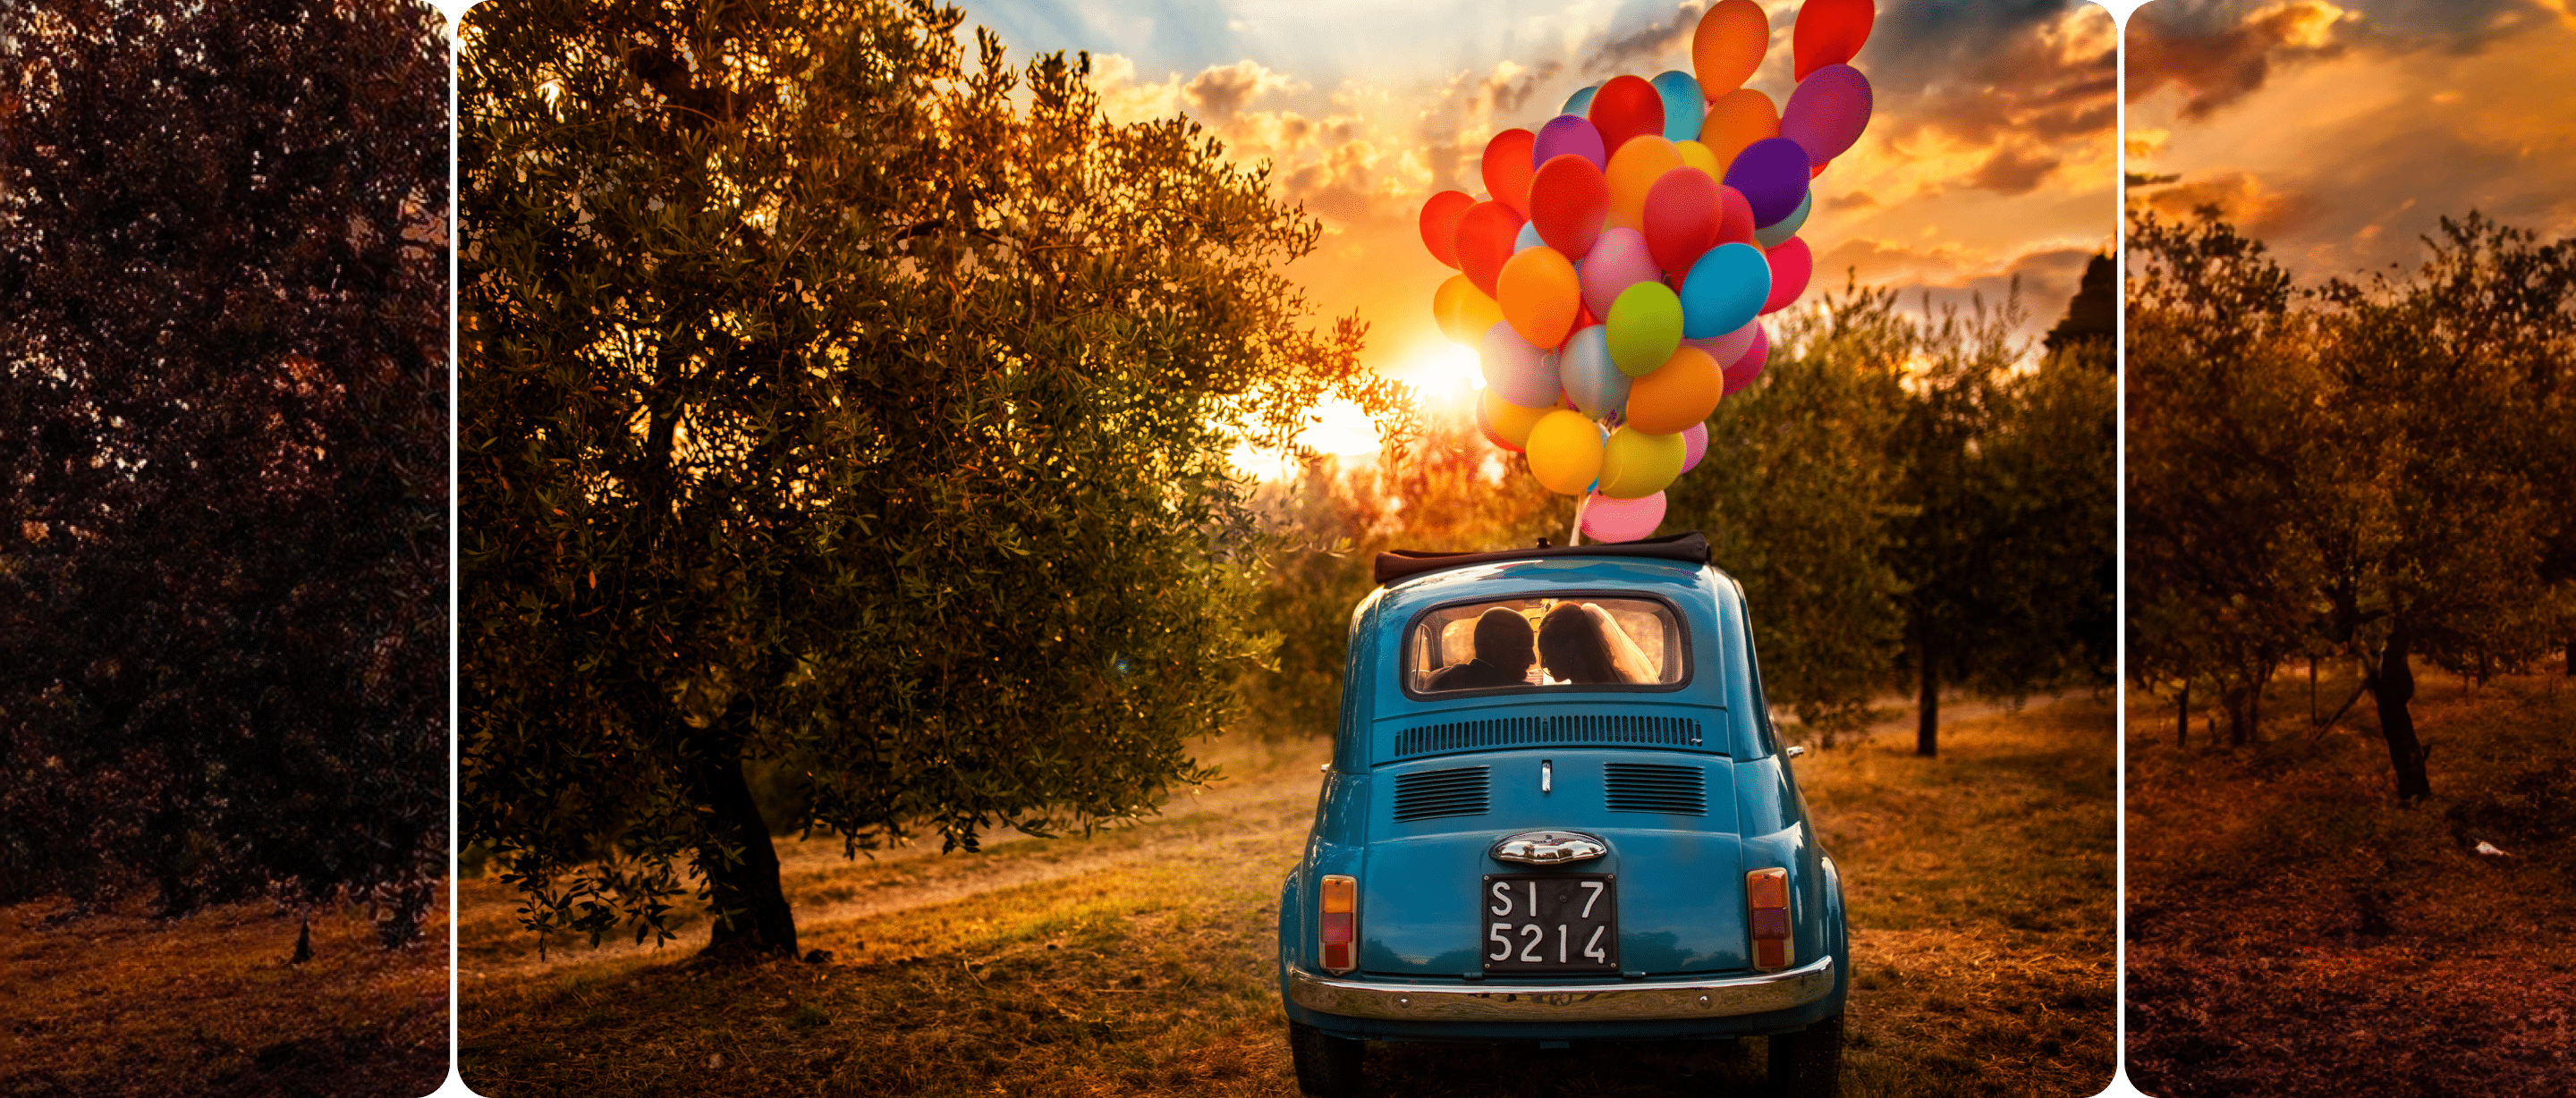
Better than Photoshop alone
“I’ve often tried to replicate the looks that I want in Photoshop’s Camera Raw interface alone, but for me it’s impossible!
The way you can build up filters to make a look that’s completely your own is like nothing else, and filters like Cross Balance let me add color in a way that’s uniquely effective.”

A new and better Nik
Nik Collection’s ability to automatically add effects to Photoshop layers and save them as presets makes it the perfect tool for Fabio’s workflow.
And other improvements DxO has made are clear, too, he says. “I grew up with Nik Collection, but thanks to DxO it’s faster, more controllable, and easier to use than ever before.”
GET YOUR
FREE TRIAL NOW!
Download NIK COLLECTION 8 today.
30 day free trial, no restrictions, no card details required.
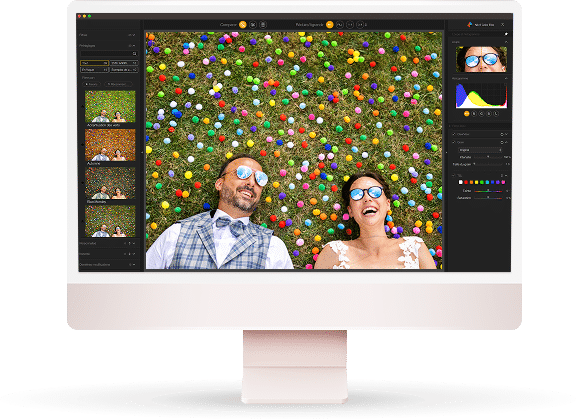
Introducing Scott Stulberg,
Professional Travel photographer

Tools that he recommends to all his students.
As one of the world’s more experienced photographers and educators, Scott Stulberg knows Photoshop plugins back to front.
He’s even written a book on the subject!
A champion of Nik Collection since its very earliest days, the likes of Nik Silver Efex, Nik Color Efex, and Nik Analog Efex are still his go-to apps for creative looks and tools that he recommends to all his students.
Nik plugs me into creativity
“Nik Collection’s plugins are purpose-built for people who dread using Photoshop,” says Scott. “They’re simpler and more visual, taking away all the complicated stuff, and anyone who tries them will see they’re more intuitive, too. After giving the presets and creative tools a try you’ll find that things that are complicated in Photoshop are easy in Nik Collection.”
Control is key
40% of his workflow involves using plugins like Nik Collection’s Color Efex and Silver Efex, Scott says. “I use Photoshop to convert RAWs and clean them up, then I head for tools like Pro Contrast and Detail Extractor in Color Efex, or the elegant Toning slider in Silver Efex, which update in real-time, so they’re easy to judge and not overdo. Remember, less is more!”

“Things that are complicated in Photoshop are easy in Nik Collection.”

Back to the future
“Analog Efex is actually my favorite plugin of them all,” Scott says. “I’m like a kid in a candy store because it gives me looks I can’t get anywhere else! It’s like building my own vintage camera. The Double Exposure tool is superb, and so expressive. And the Bokeh and Lens Vignette effects are so adaptable you’d never want to add them any other way.”
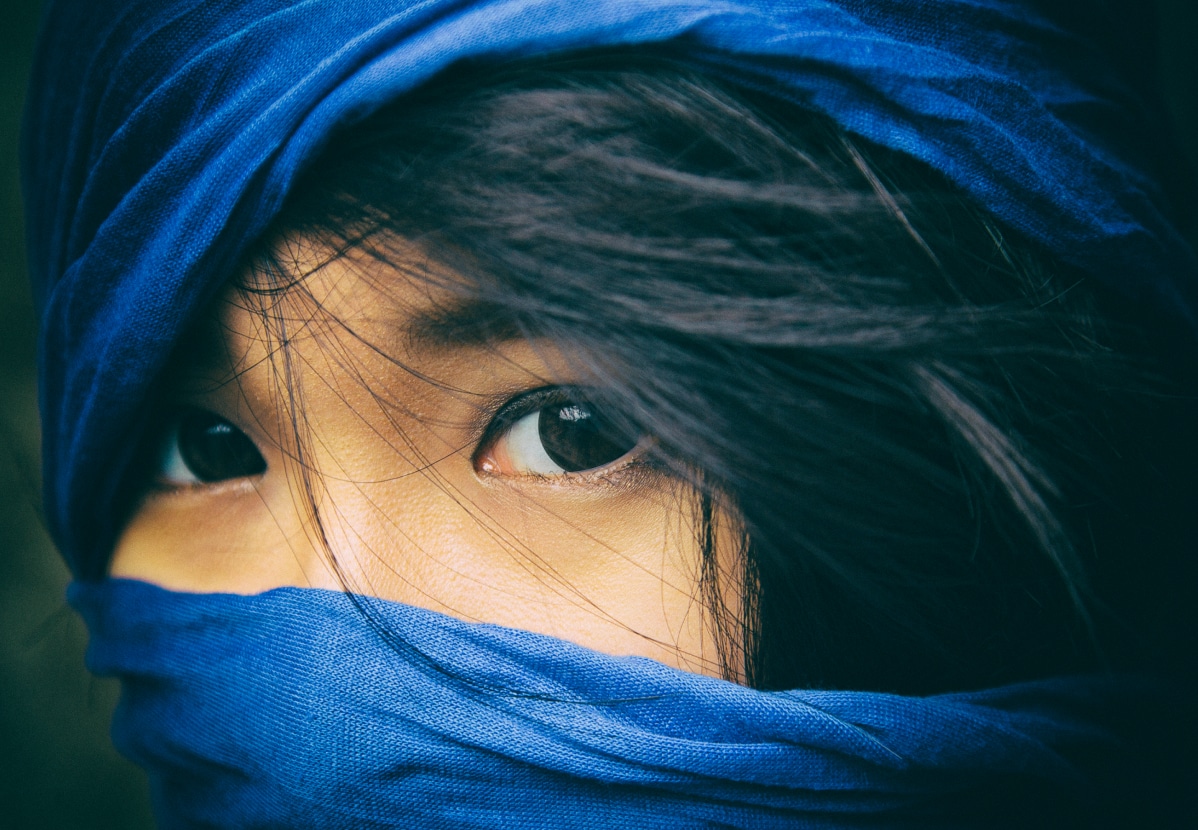
Nik Collection puts you in control
Having used Nik Collection since its launch almost 30 years ago, Scott has seen it rise and rise.
“I love plugins, they’re where Photoshop gets to be fun, and Nik Collection is the original,” he says. “DxO took some good software and made it great.
The latest version is clearer, easier to use, full of options, and works more flawlessly with Photoshop than ever before.”
GET YOUR
FREE TRIAL NOW!
Download NIK COLLECTION 8 today.
30 day free trial, no restrictions, no card details required.
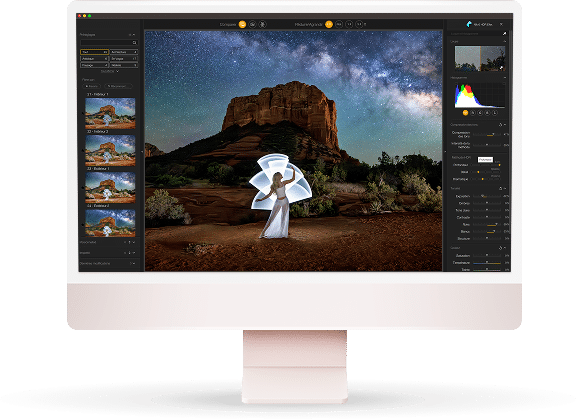
Introducing Thomas Voland,
fashion and beauty photographer
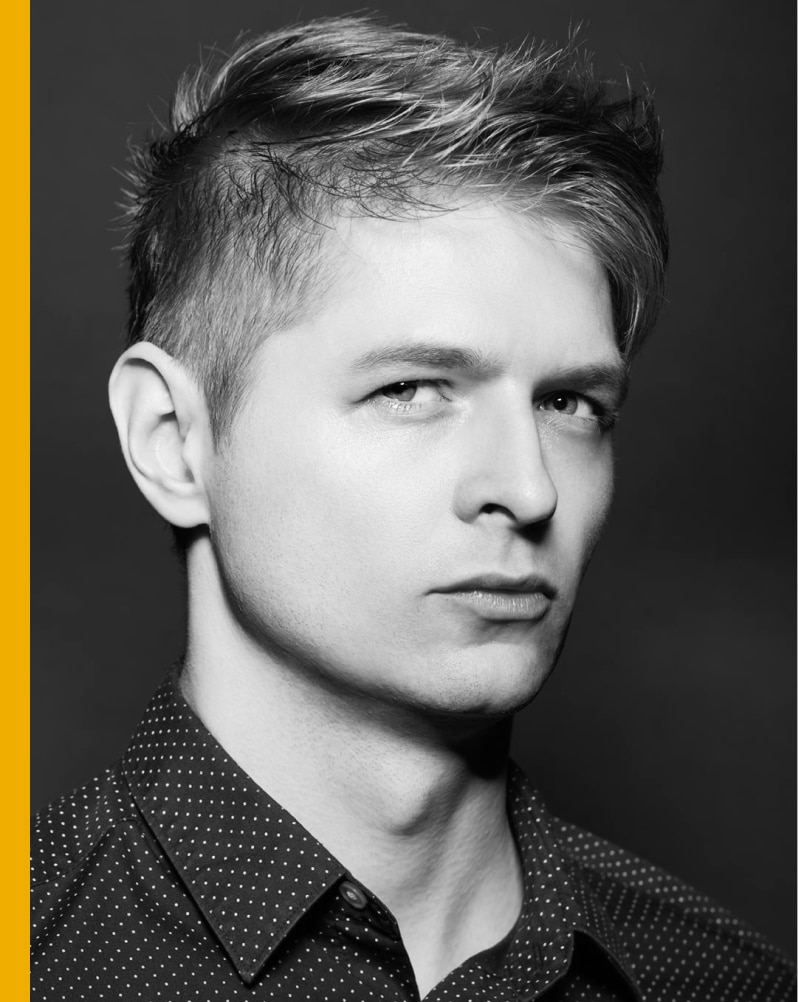
A retouching expert
Thomas is known for his skill as a retoucher, writing tutorials and running regular workshops. And for Thomas, Nik Collection brings speed to his work.
“When it comes to changing lighting and contrast, Nik Collection is about ten times faster than doing it with masks and curves in Photoshop.”
His favorite plugins are Nik Silver Efex and Nik Viveza and his ability to manipulate light — both in the studio and in the edit — is what sets his images apart.
Start with light, finish with Nik Collection
Thomas starts by getting the perfect lighting on his subjects, often with dark shadows in the background to make the model stand out.
“If I’m shooting in a small space, my trick is to use a big modifier to get nice even light across the subject’s skin. If I need the background to become darker, that’s when Nik Viveza comes in.”
For Thomas, this combination is a great way to achieve good lighting as quickly as possible. That means more time to work with your model and create fantastic photos.
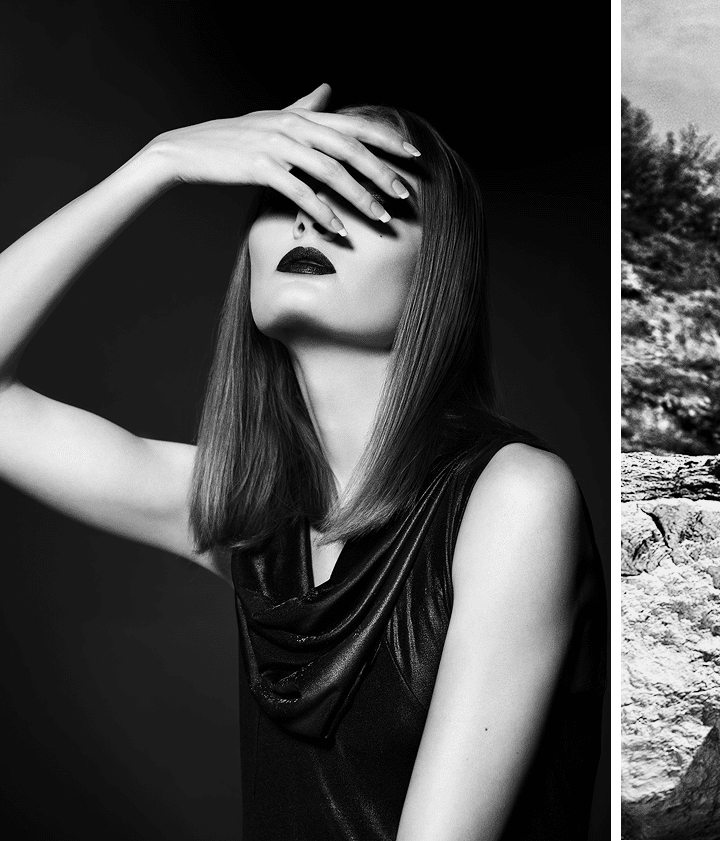
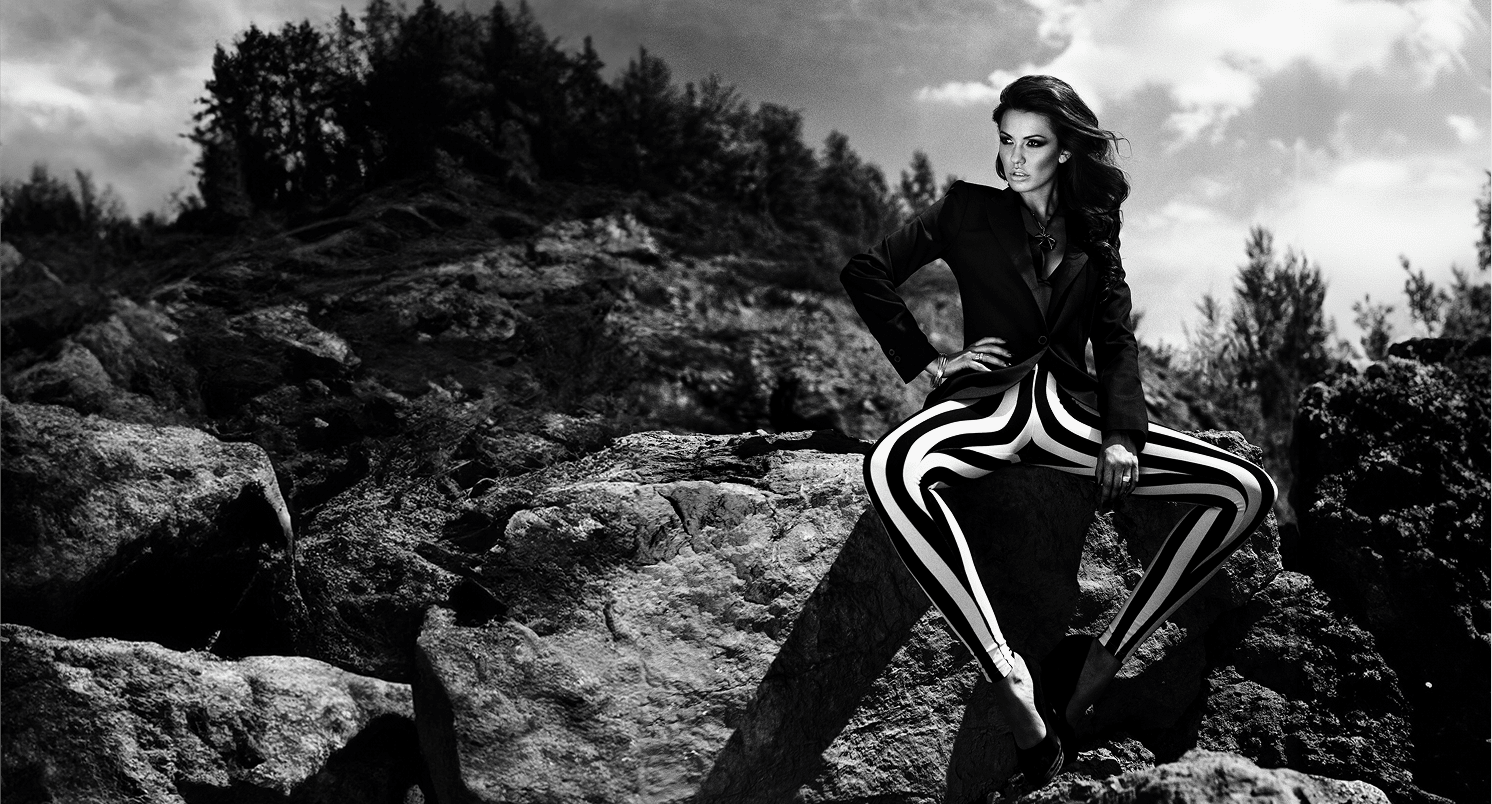
“Nik Silver Efex has long been the gold standard among black and white enthusiasts.”
Nik Silver Efex is like nothing else
When it comes to black-and-white images, there’s nothing to match Nik Silver Efex.
“This is something that every photographer should have,” says Thomas.
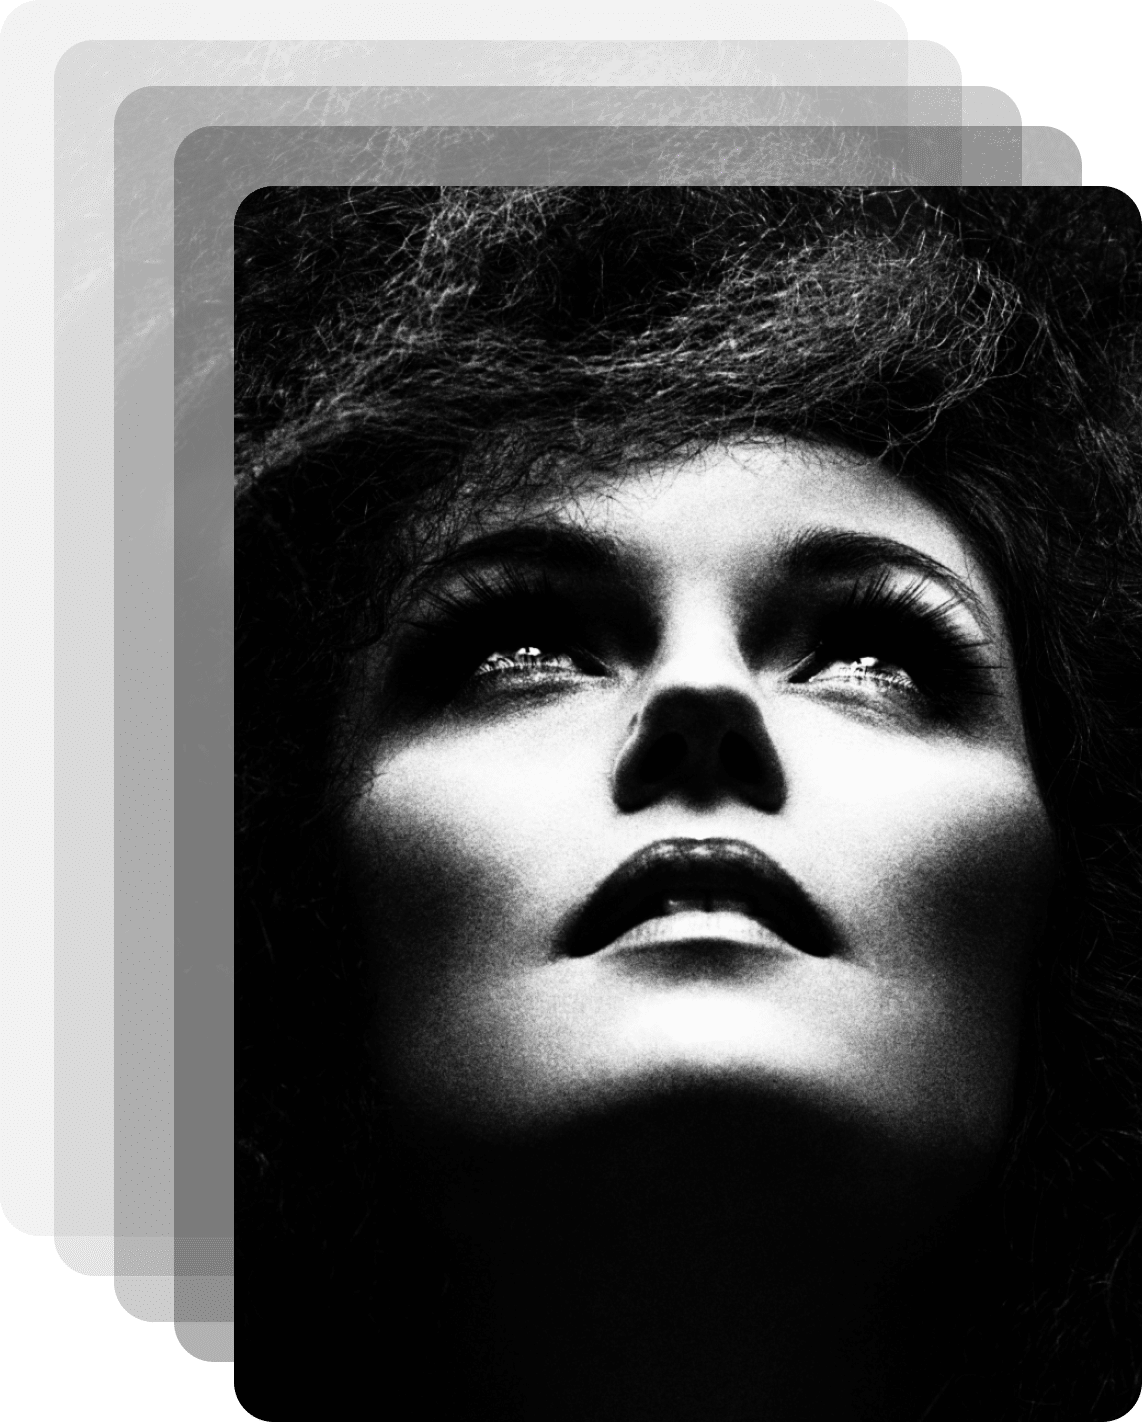
“It has looks that you can’t add any other way. For example, the analog grain is perfect in the highlights and in the shadows.”
What’s more, Thomas loves how his monochrome editing can be kept on a single adjustment layer in Photoshop, allowing you to copy it to other photos and save time.
Speed is essential
“Speed in retouching is very important,” explains Thomas. “In Nik Viveza, you just add two or three Control Points and it’s done.”
What’s more, he regularly copies edits in Nik Viveza from one image to the next, allowing him to work even faster.
Combined with Photoshop’s Smart Objects, this gives Thomas the perfect level of control, allowing him to respond to a client’s requests for small changes.
GET YOUR
FREE TRIAL NOW!
Download NIK COLLECTION 8 today.
30 day free trial, no restrictions, no card details required.
Introducing Espen Helland,
Nature photographer
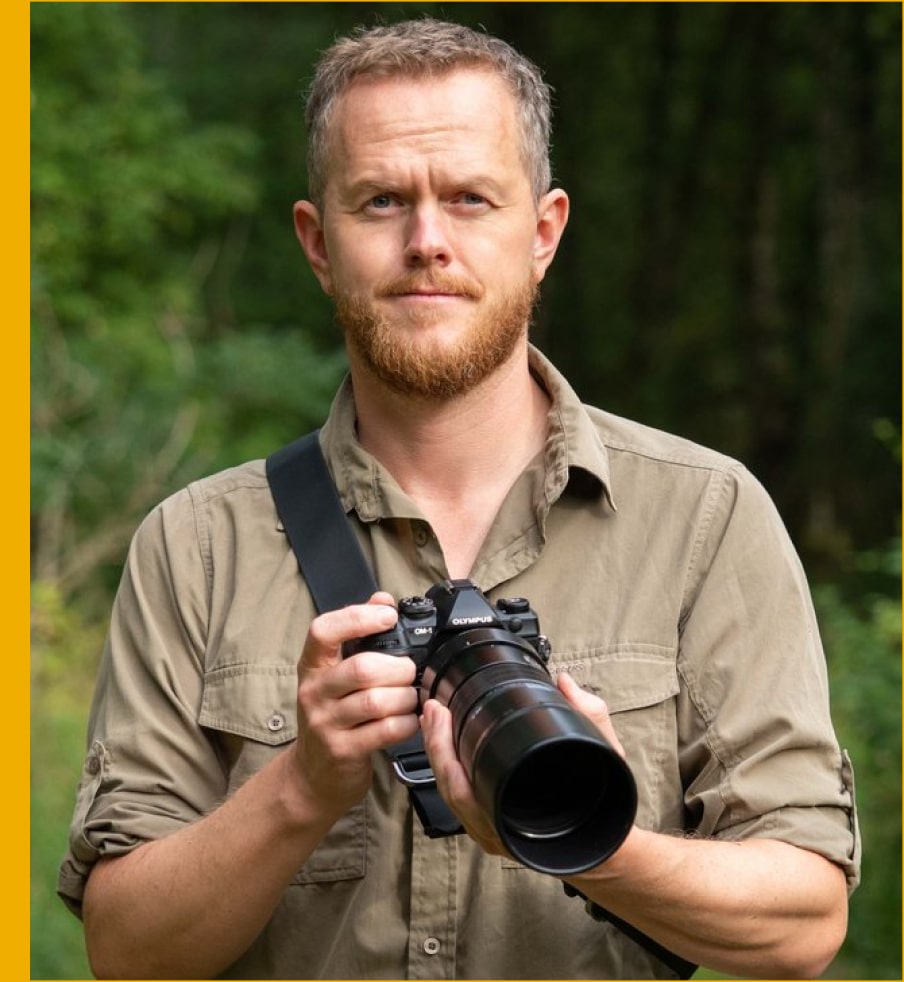
Ecologist, ornithologist, photographer
Based in Scotland, Espen loves to immerse himself in the calmness and tranquility of nature — something that also inspires his editing.
“I like to create minimal changes, enough to guide the viewer’s attention using light, contrast, and detail. Nik Collection makes doing that faster and more enjoyable.”
Keep reading to find out how Espen uses Control Points in Nik Viveza and Nik Color Efex to produce stunning imagery.
Work faster and enjoy editing
“Nik Collection’s Control Points are fun and they save a lot of time,” explains Espen.
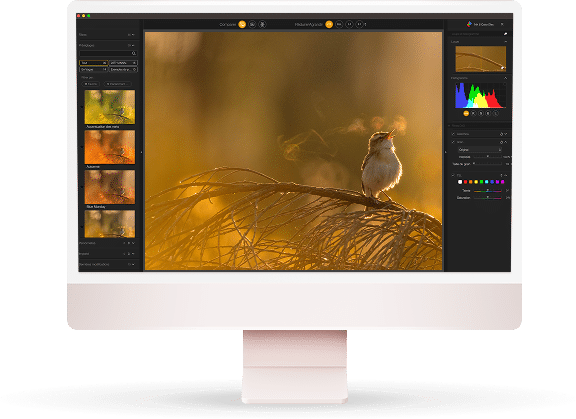
“In this image, I used Control Points first to brighten the bird’s breath and then to darken the background. With U Point™, it’s instant.”
After importing images to Lightroom, Espen’s typical approach is to make basic changes before opening an image into Nik Viveza or Nik Color Efex for the final flourish.
Once in Nik Color Efex, he’ll often use the Brilliance/Warmth filter to enhance the atmosphere, and the Pro Contrast filter helps to remove any distracting colors.

“Your eyes are opened to effects you never even thought of”
Help your subjects to stand out without feeling unnatural
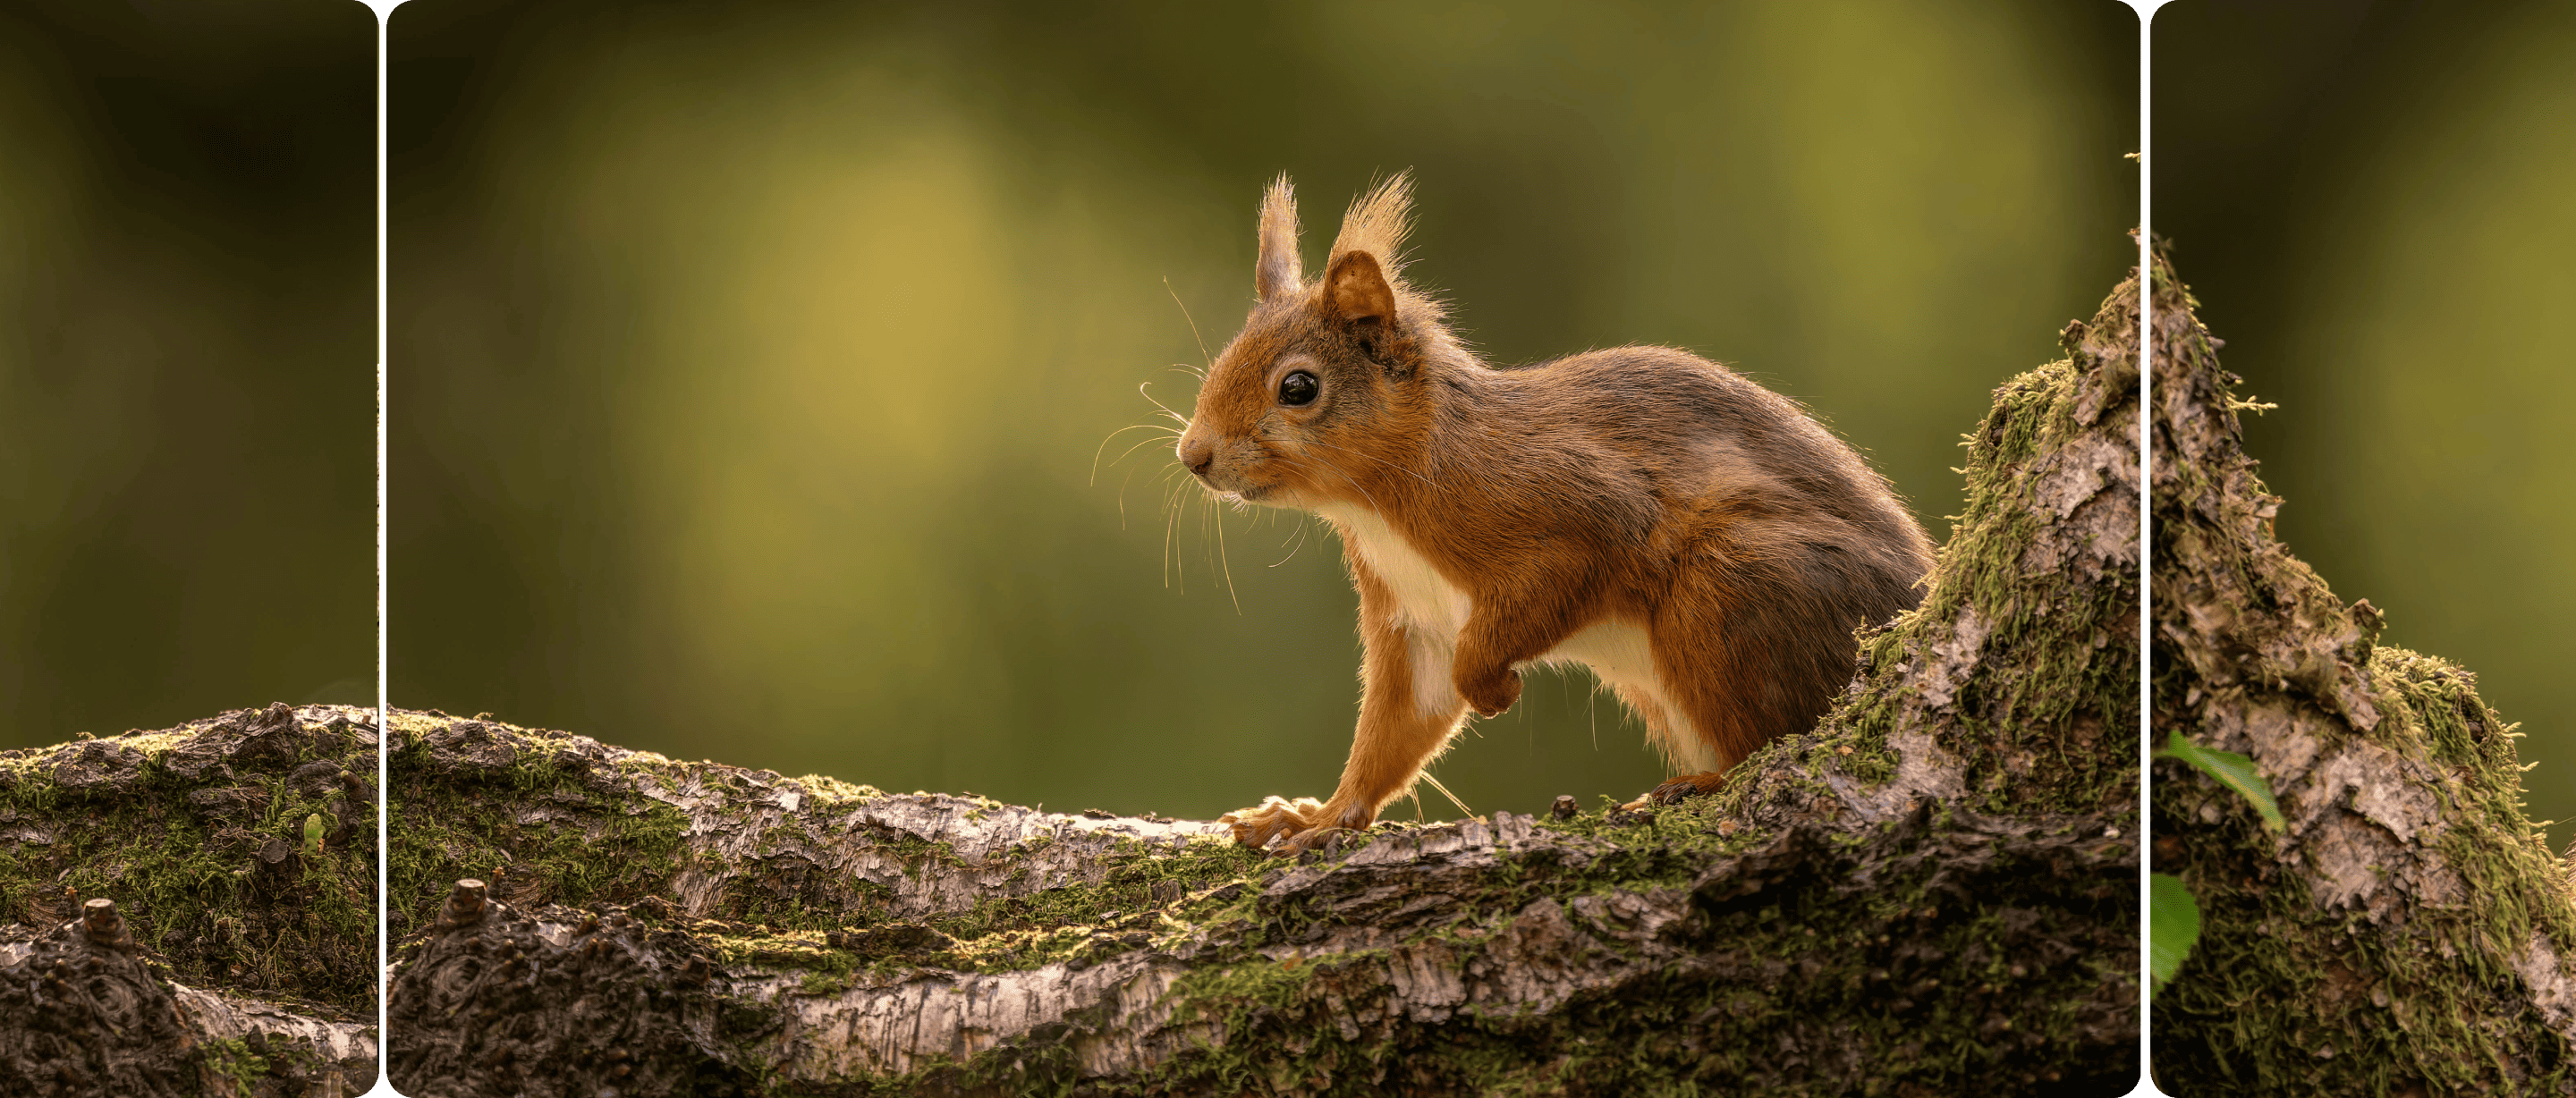
With this gorgeous red squirrel, Espen’s editing choices were based on the need to adjust the contrast to help the subject stand out.
“You need to be very careful with the quality of AI masking,” says Espen. “it can look unrealistic and lead to an image that doesn’t feel natural.”
Here, Control Points were used to reduce structure and soften details in the background, and then do the opposite for the squirrel. For Espen, this was both quicker and easier than masking in Lightroom or Photoshop.

Nik Collection puts you in control
Nik Viveza was at the heart of this edit. Espen chose to lift the brightness and yellow of the grass, before darkening the sky to create more drama.
He then added contrast and structure to the elephant to give it more detail, ensuring that other parts of the image don’t compete with the main subject.
“The aim is to use what’s there to bring the best out of an image and create a natural finish,” he explains.
GET YOUR
FREE TRIAL NOW!
Download NIK COLLECTION 8 today.
30 day free trial, no restrictions, no card details required.
Introducing Nina Papiorek.
Professional Art photographer

Minimalism meets precision
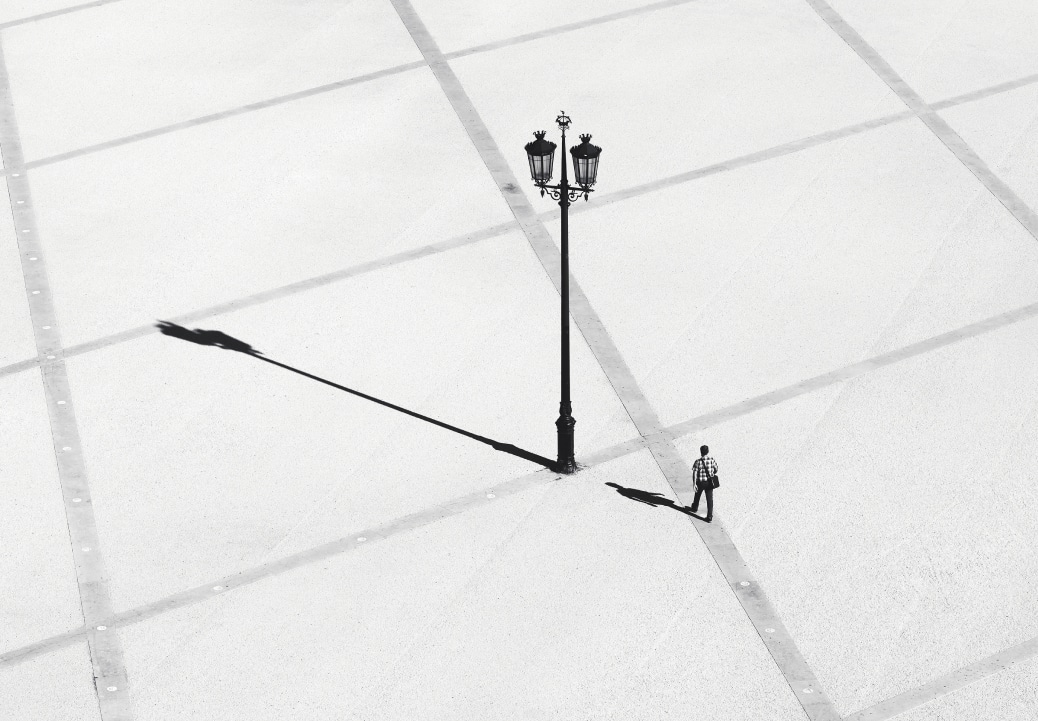
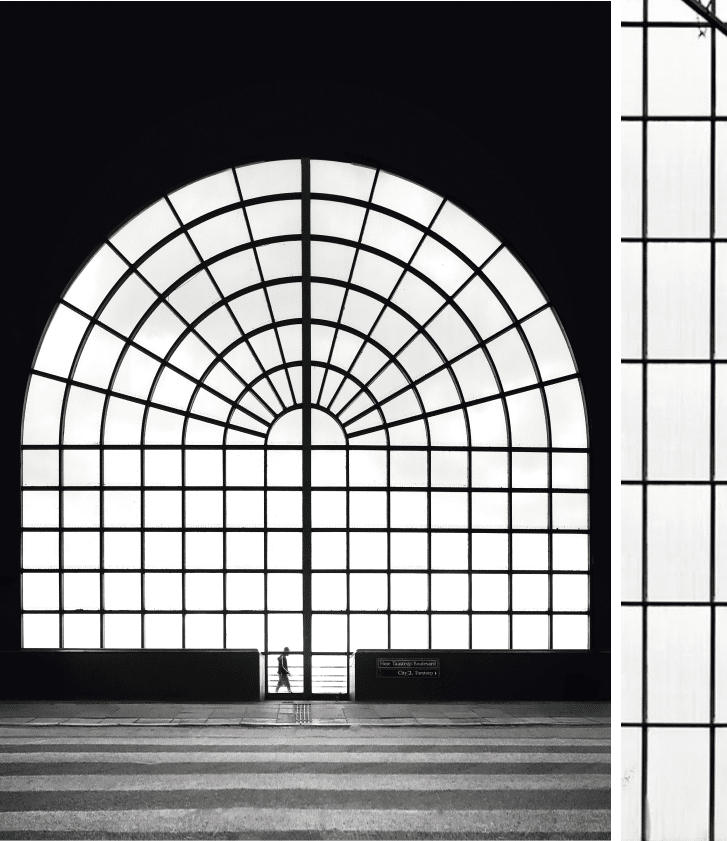
Nina’s beautiful, minimalist style of fine-art street, landscape, and architectural photography has developed over 20 years, with her clean, uncluttered images reliant on patient composition and careful editing.
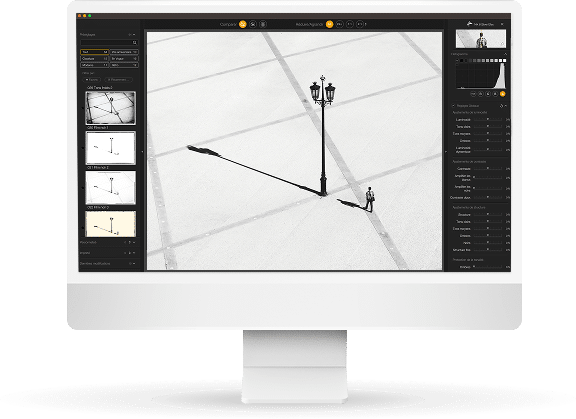
With monochrome images dominating her portfolio, it’s no surprise that she chooses Nik Silver Efex and Analog Efex to make them.
Silver Efex gives 100% satisfaction
Considerate and thoughtful processing is integral to Nina’s workflow. “If you’ve waited a long time to make a photo, then you should match that effort in editing,” she says.
“Good processing is essential and it’s part of my visual language, so I want it to be consistent. I work with Nik Silver Efex until I’m 100% satisfied with the result, letting my images mature and develop slowly.”
“Nik Silver Efex has long been the gold standard among black and white enthusiasts.”
Preset for success
“I don’t like the black-and-white modes of cameras much, so I work in full color, and do my monochrome conversions completely in Nik Collection,” Nina reveals.
“I launch Silver Efex from Photoshop and start with the presets. They are so varied that I usually find what I'm looking for straight away, then go make individual adjustments and perfect the look over time.”
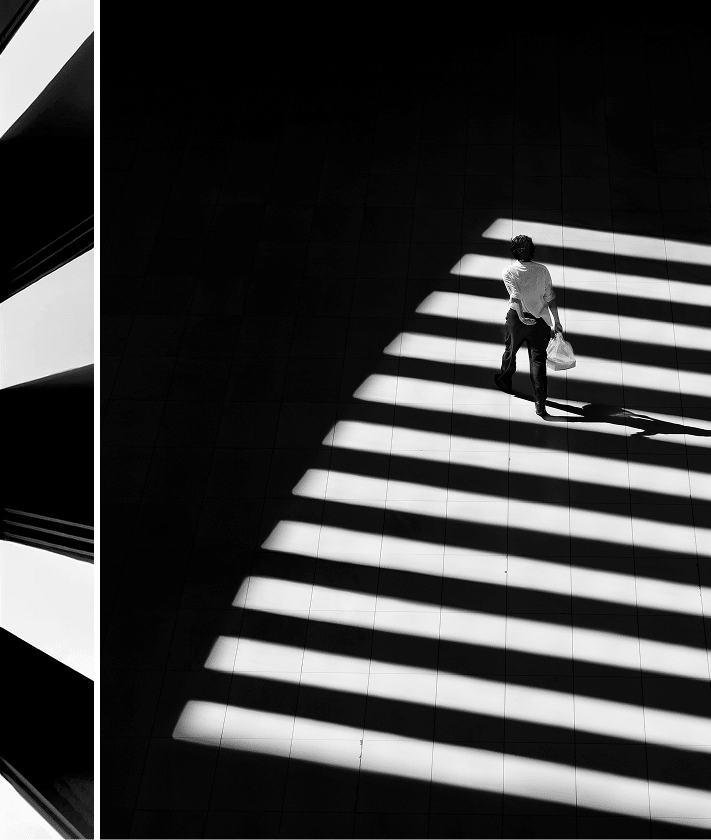
Setting the tone
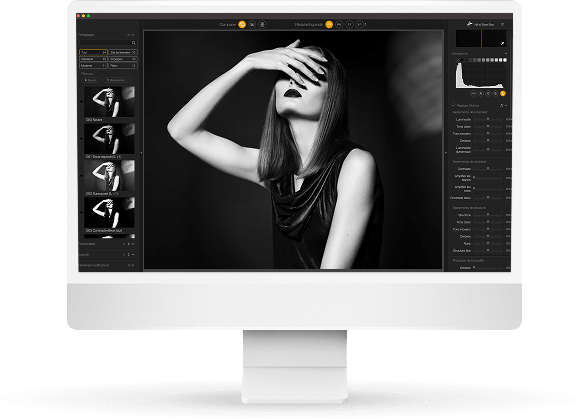
Using tools like Nik Silver Efex’s zonal histogram, Nina can work on the tonal values in her images very precisely.
“Depending on the picture, I can fine-tune adjustments for hours. The level of precision is perfect for photographers like me who are totally meticulous in their editing, and because of the way Nik integrates with Photoshop Layers, it’s totally non-destructive.”
GET YOUR
FREE TRIAL NOW!
Download NIK COLLECTION 8 today.
30 day free trial, no restrictions, no card details required.
